Client-led Project

”Establish and undertake a small client-led project in response to another person’s graphic design needs:

  • write a brief
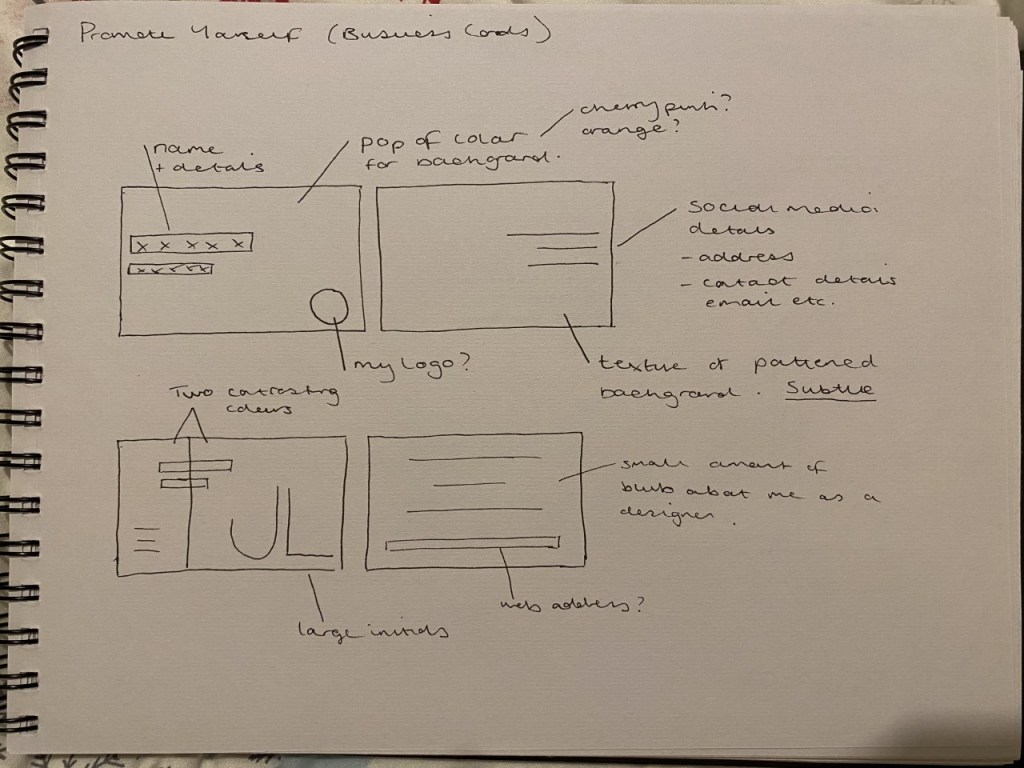
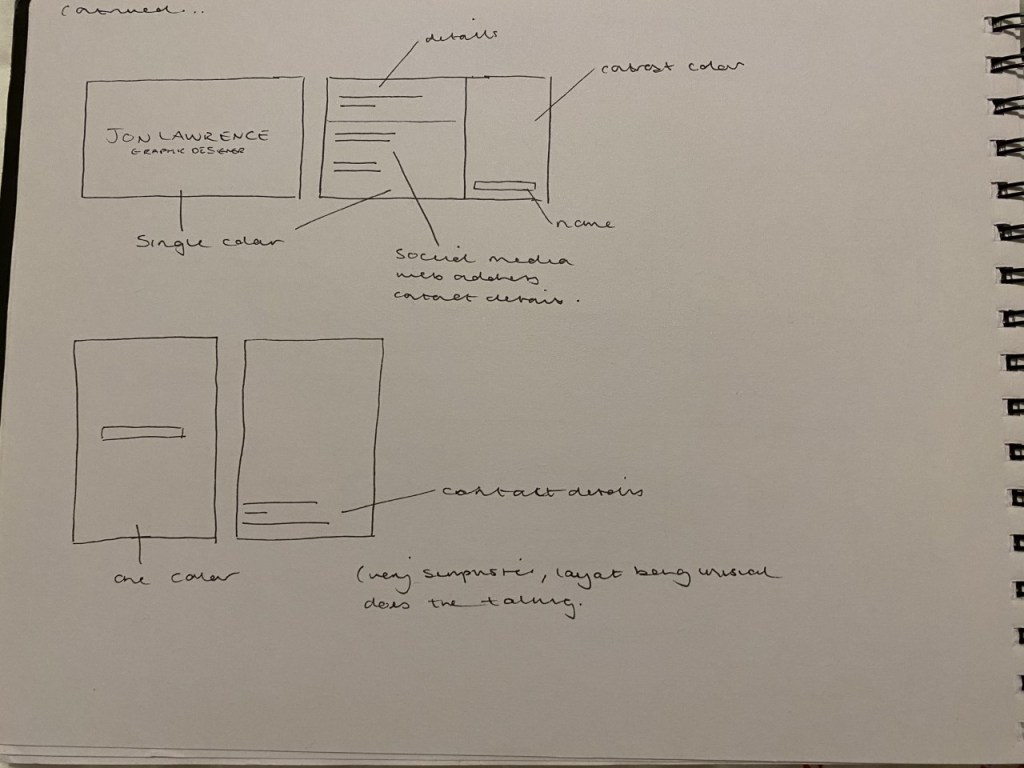
  • develop a range of ideas
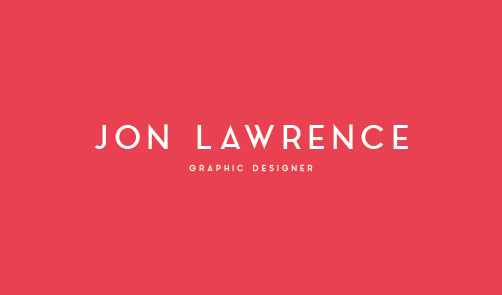
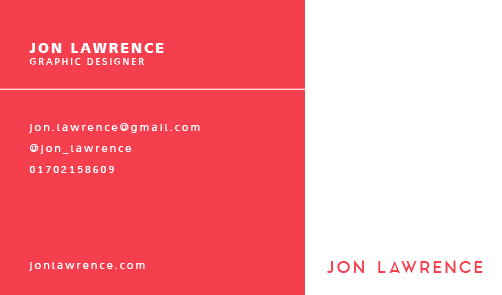
  • finish your artwork to pre-press
  • work out roughly how much you might charge for the job
  • reflect on the process.
  • how you found working with a client.

Reflect on how you found working with a client. You may want to get some feedback from your client about their experience of the process. Given the amount of time you spent on the assignment, how much might you have charged your client? How does your client feel about this price? How might you approach other client-led projects differently in the future? Summarise your reflections into a short evaluation (around 800 words) and submit this with your assignment.’

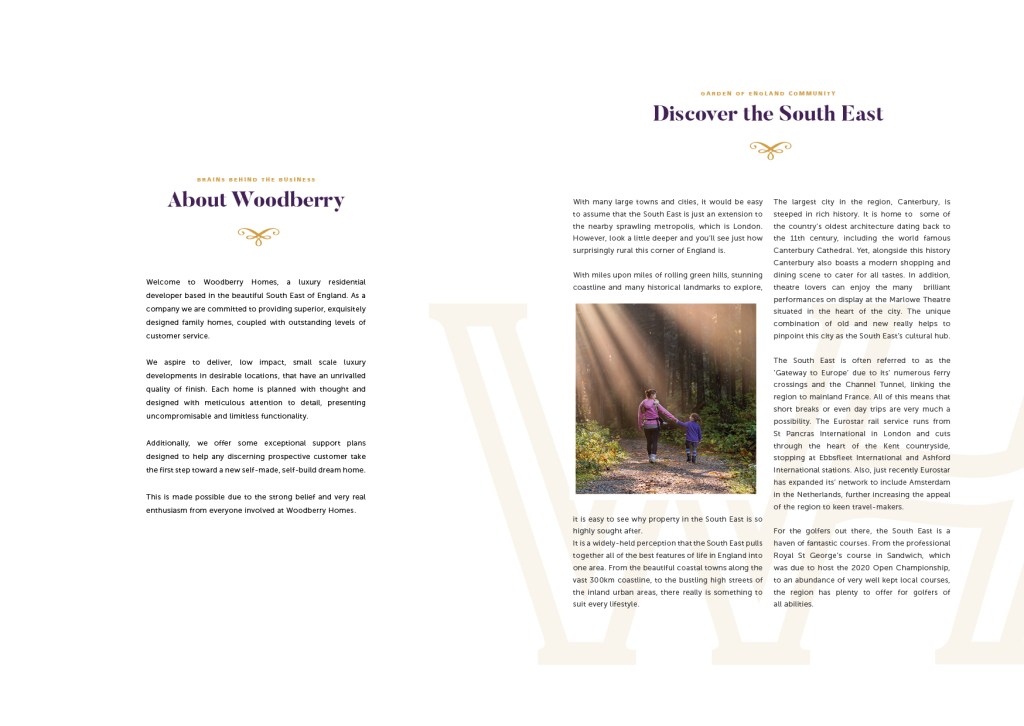
Having worked with Woodberry Homes for a little while now, they were very open to the idea of further work. The brief this time was for a business card design, and some letterhead variants.

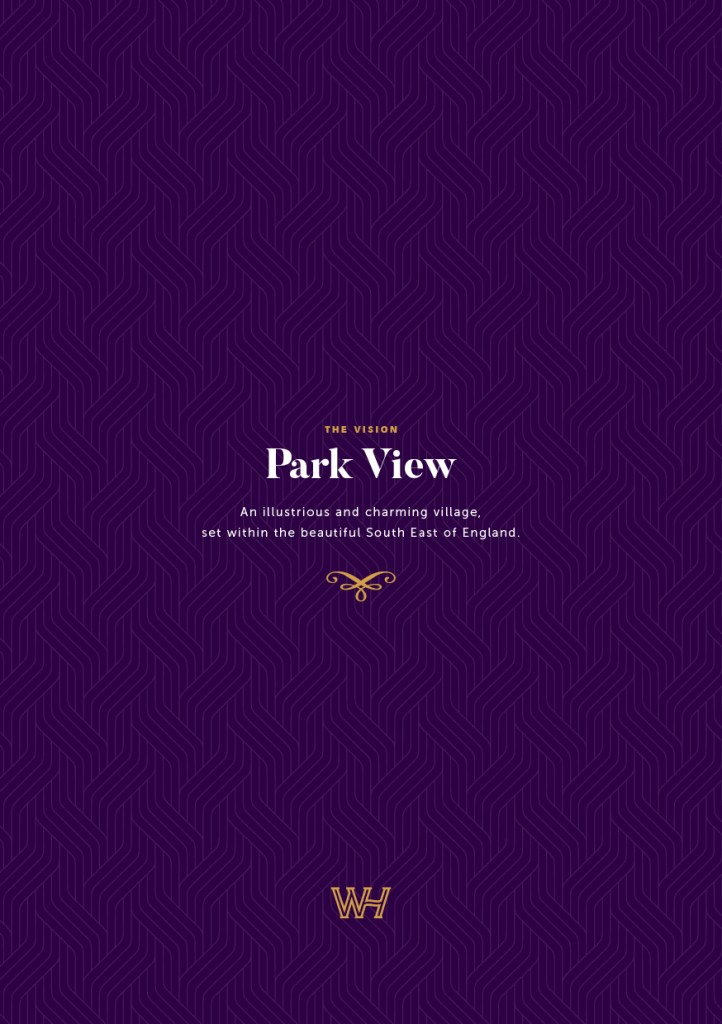
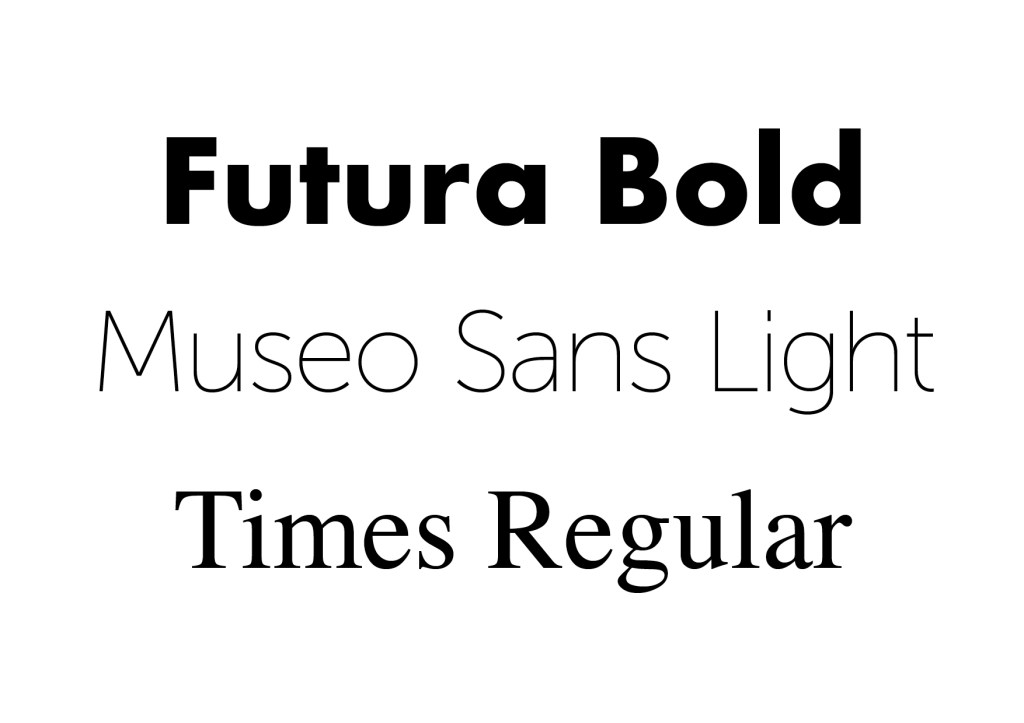
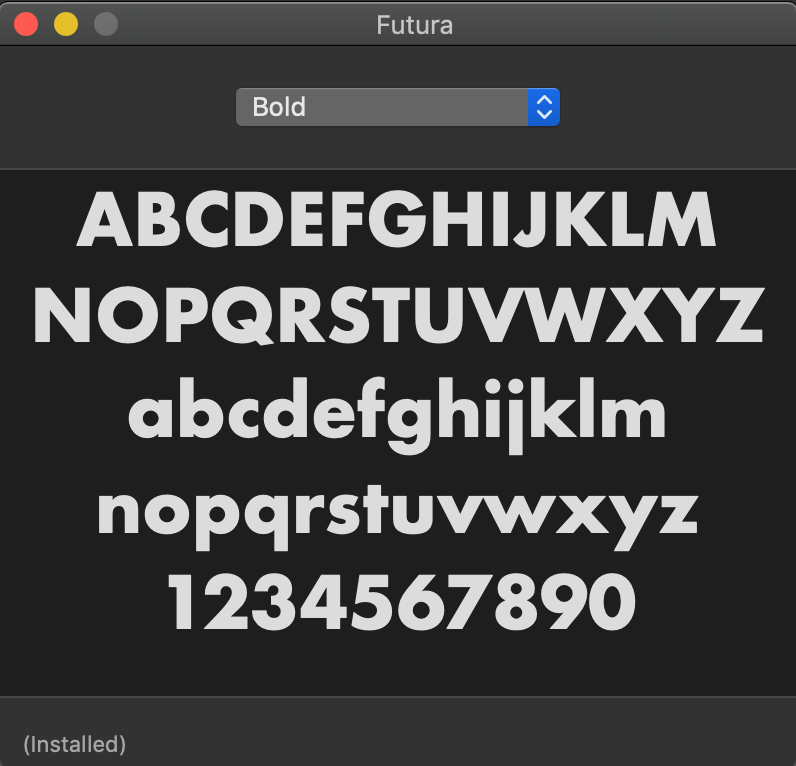
The direction I was given, was to come up with a set of designs that imply class, whilst retaining the brand colours of purple and gold. Luckily these are regal colours in their own right, so the task wasn’t too challenging.

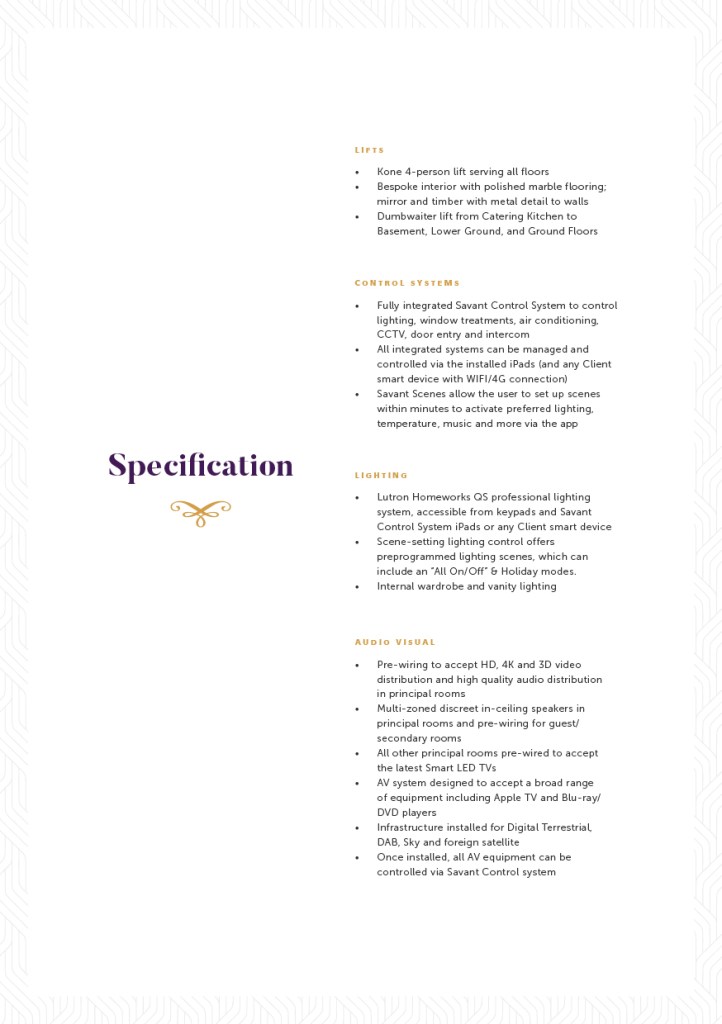
Having produced previous work for them, the leaflet in the earlier part of this section of my course to highlight one, I was already well-versed and in tune with their brand style and general feel for the type of printed and digital work they want and require.

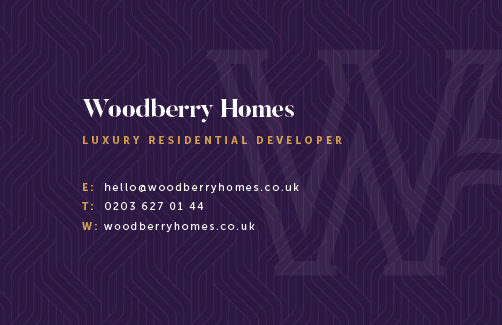
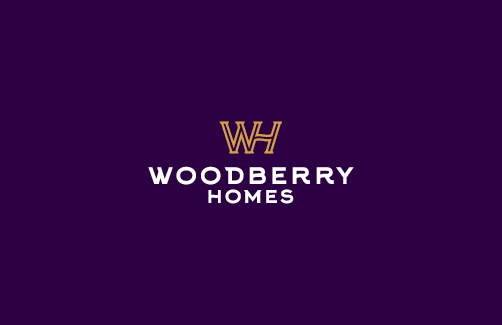
For the business cards I came up with three different designs. On the front side, there wasn’t a huge scope for experimentation as the client had a clear idea of what they wanted – namely a purple background, with the company logo in the centre. However I did add a subtle background design to this, one that I had used previously in some other work for them, to add some depth to the design. On the reverse, I had more room to try different ideas, the outcomes are below:

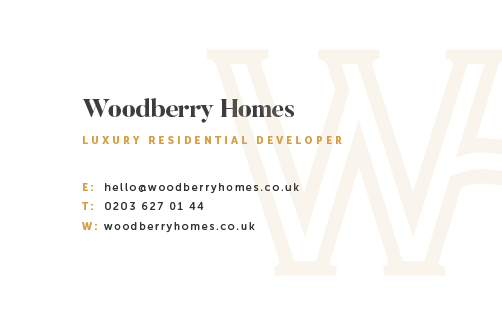
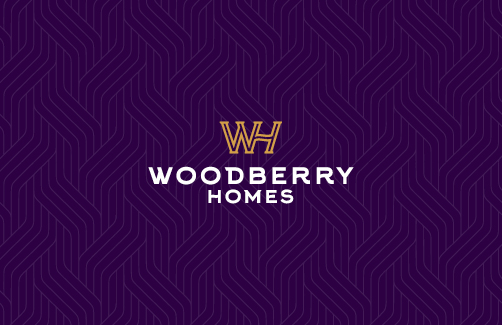
The chosen design was the first option, the client loved the added background ‘design feature’ and hadn’t considered using it on a business car design, subsequently they wanted this applied to the headed paper too.

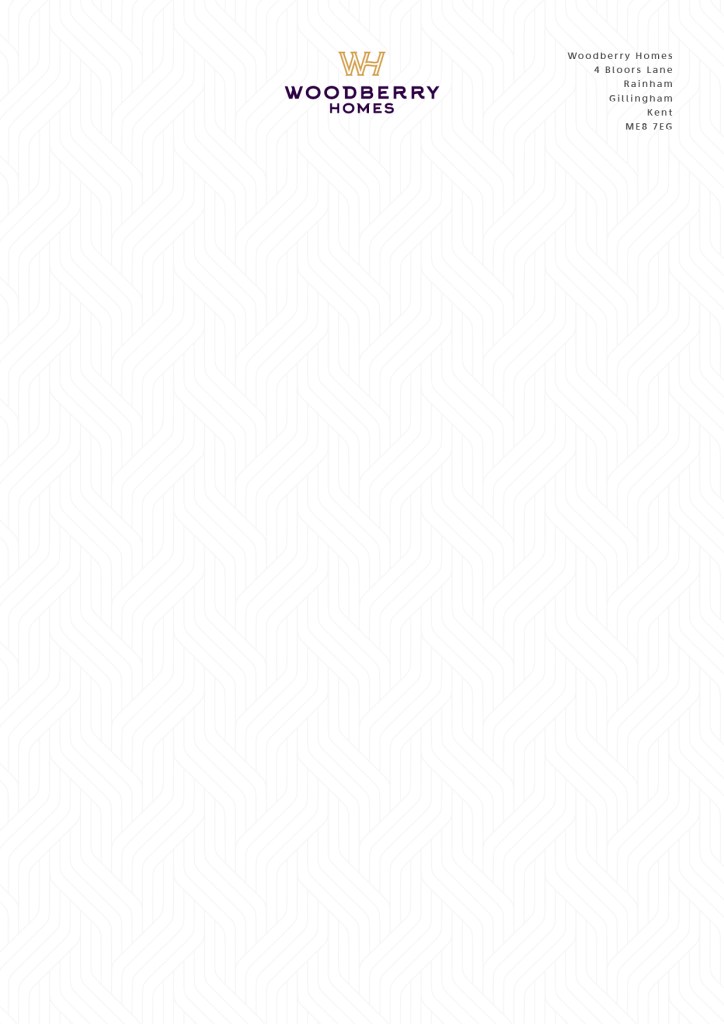
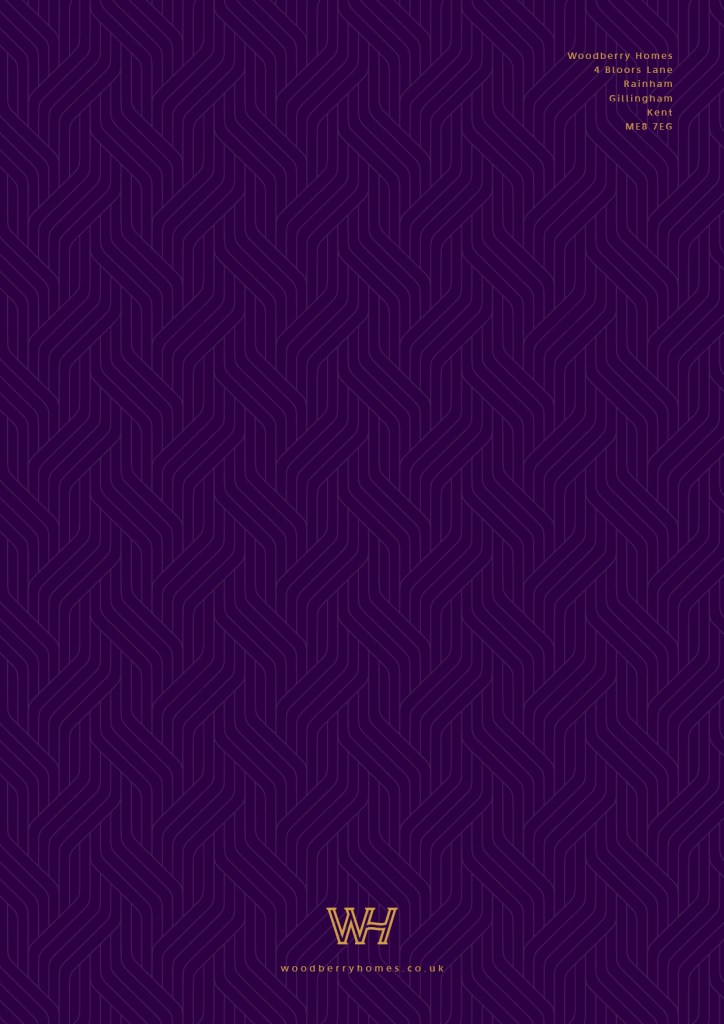
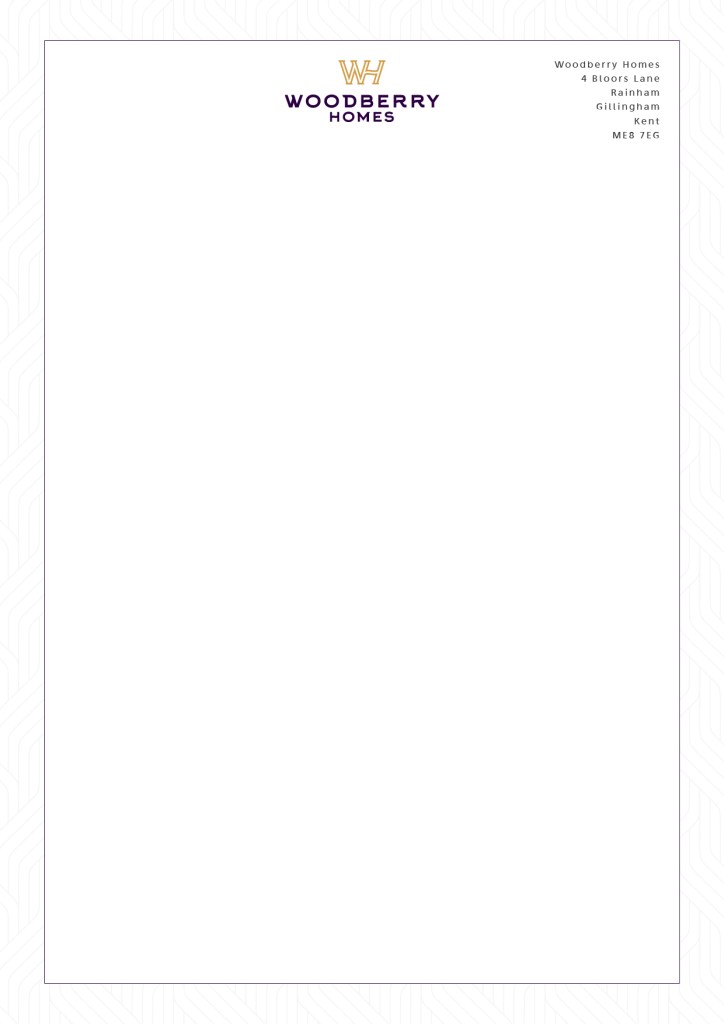
The headed paper, much like a business card design, doesn’t lend itself to anything particularly experimental or ‘out there’ in terms of design, but there is definitely a certain degree of finesse involved. The process is far more involved than simply placing a logo on a blank sheet. As previously mentioned, the client wanted the design element added to the background of the headed paper too. As well as producing a couple classic white versions, we also came up with the idea of a purple sheet. This became an option after a conversation with the client where they mentioned that they liked the idea of handwriting letters to their customers using a gold pen – a quirky approach which I loved! In the end they actually wanted to different versions, a classic white, as well as the purple.

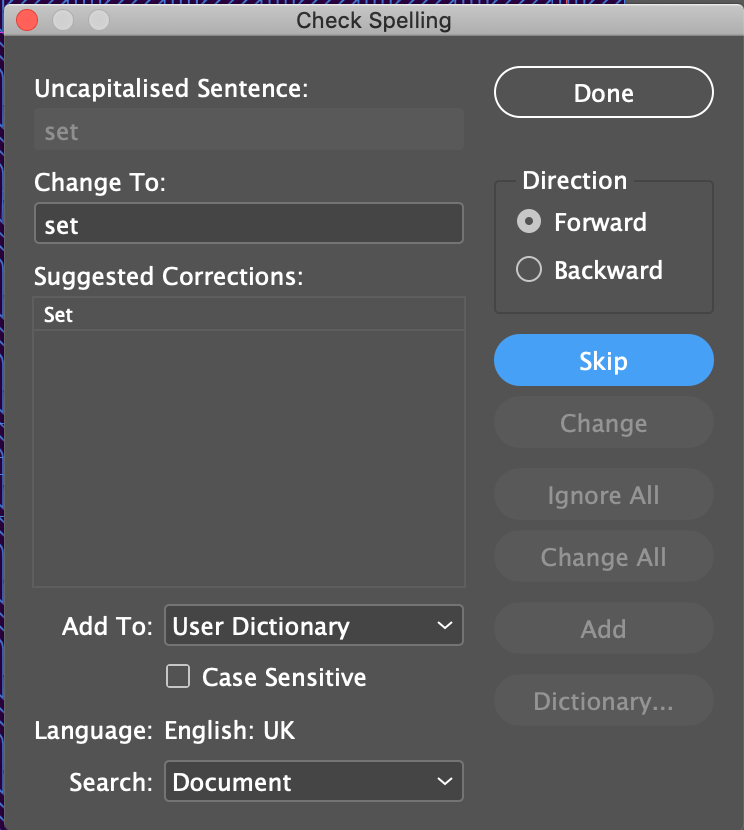
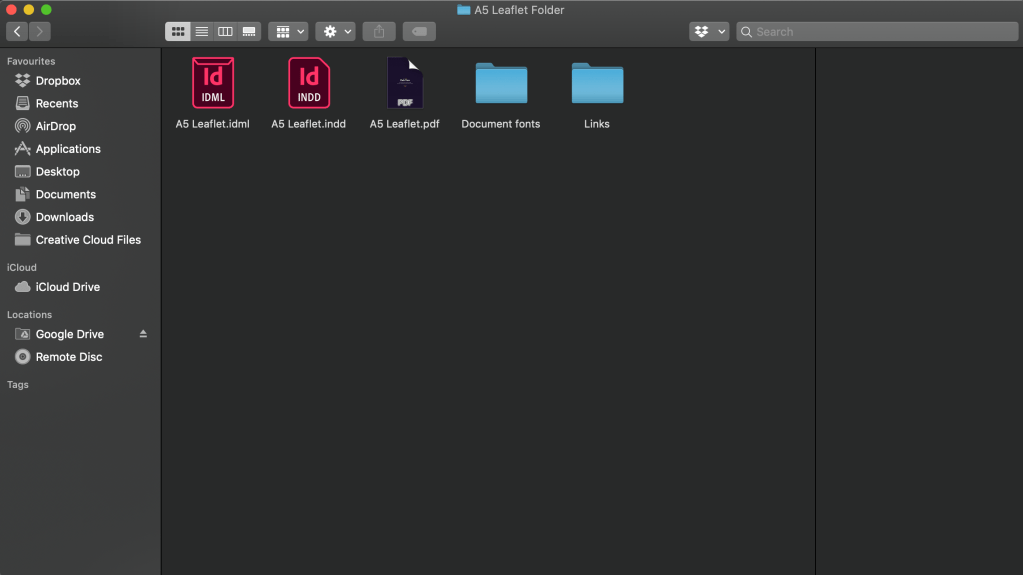
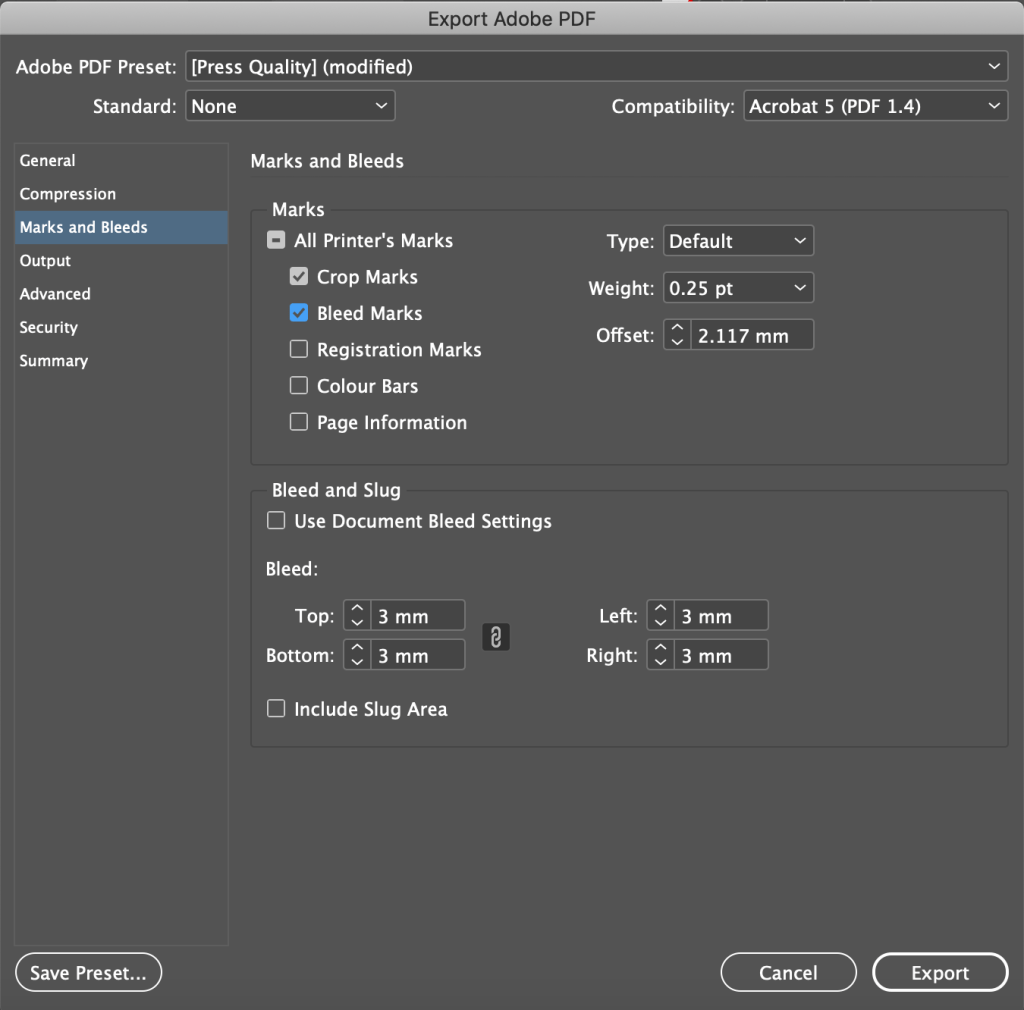
Again, the first two options shown above were chosen to be taken to print. The next stage for me was to ensure that both the selected business card design and the chosen headed paper were all prepared for print. This involved selecting the correct colour profiles as well as crop and bleed – as is standard practise with any print job.

At this moment in time, the client has sent the artwork to the printers and due to COVID, there will be a short lead time to wait until the finished results arrive back at the company. But so far, safe to say they are delighted with the outcome! This has also lead to further discussions on future work together which I am very pleased about.

My full evaluation (in around 800 words) of the assignment is below, but also attached via email.

Although this is far from my first time working for a real-world client, the sense of motivation and professional pride is something that always strikes me. Having completed and undertaken some work for Woodberry Homes before, it was nice to reaffirm the professional relationship that I have with them, on this project. I feel it is one of the most important aspects of any professional working relationship, having a good line of frequent communication. This helps the process become much more efficient, meaning less ambiguity for the designer, and ultimately less money having to be spent by the client – a win for both parties. I have been very lucky that Woodberry Homes are a dream to deal with/work for. The clarity they provide when asking for work it extremely helpful.

I had previously established a working rate with Woodberry Homes, of £40 per hour, this is my going rate for all work, and something that I continued throughout this project. I always try to invoice before starting the work, as this allows the client to get a good gauge on what the job will cost them before I undertake the job. Once agreed on, I usually allow for three seperate amends included within the quoted price, any amends after that are charged at 50% of my hourly rate. As this is a price that has been pre-agreed in the past, I am confident that Woodberry Homes are happy with it, considering the work they recieve. 

This particular client organised the printing of the artwork themselves, which is handy as it is less hassle for me, but I still had to ensure that all my files were print ready when I sent them over to the client – something that I felt much more prepared for than in previous instances, due to some of the work involved in some of the previous tasks within this part of the course. As a result I would definitely feel more comfortable in suggesting to a potential future client, that I can arrange and delivery printing services for them. I could even make an added markup on this as a service.

In terms of the work itself, although what was being asked of me was a relatively simple brief (some business card designs and some professional looking headed paper), it was still important to ascertain exactly what the client was looking for. In this case, the overall look and feel had to imply a sense of class and esteem, whilst retaining the brand identity. As previously mentioned, the Woodberry Homes brand colour palette lends itself very well to this aesthetic. The purple and gold colour scheme, paired with the luxurious serif font of the logo, meant that achieving the desired look and feel was not too much of a challenging task. I produced three different designs, each offering a slightly different take. On the front side, there wasn’t much room for experimentation as the client had a clear idea of what they wanted – namely a purple background, with the company logo in the centre. However I did add a subtle background design to this, to add some depth to the designs, this is something I had used on a previous article of work for the same client, and one that they hadn’t considered using on a business card design, subsequently they then asked for the same to be applied on the headed paper as well. Again this was another benefit of frequent communication, I could take this information and use it for the headed paper before I had actually started work on that part – an ideal situation for both parties.

Headed paper, much like a business card design, doesn’t lend itself to anything particularly experimental or ‘out there’ in terms of design, but there is definitely a certain degree of finesse involved. The process is far more involved than simply placing a logo on a blank sheet. There are things to think about in terms of composition – (how big should the logo be? What other information needs to be included? Where should this information go, at the top or foot of the page? And how dominant should it appear? Are any other colours other than white to be considered?). Once more, three options were presented to the client, two classic white versions as one might expect, but also a purple version. This became an option after a conversation with the client where they mentioned that they liked the idea of handwriting letters to their customers using a gold pen – a quirky approach which I loved! In the end they actually wanted to different versions, a classic white, as well as the purple. Something I was happy to have assisted with.

In summary, I felt that the process of writing a brief combined with working with a real-world client, has left me feeling very confident about the process as a whole. In particular, I now feel much more confident in my own ability, not only in design terms but also in a consultive way –  I now have the self-belief to be able to interact with a client, and to suggest new ideas to them during the briefing process.

Promote Yourself

‘Produce a suitable business card and PDF e-flyer or printed leaflet of promotional material to give to potential clients.

To begin with, think about what you’re offering as a designer – whether there’s a particular area of focus, interest or a general approach you can promote. Try and summarise your approach in a short statement or sentence that describes you as a designer. What examples of your work would you choose to represent this approach?

Put together a business card with your contact details and a brief outline of what you do.

Next, develop a PDF document that can be either emailed or printed and given to potential clients. This should expand on your approach as a designer and provide examples of your work. You may want to extend this project to include an online portfolio or other suitable format to showcase your work.

Outside your network of friends and family, who would you send this portfolio to? Create a mind map of potential clients. Research the kinds of design companies, organisations or sectors that support the work you’re interested in. You may want to give this a local, national or international slant’

I think my strongest offerings as a designer, come in the form of layouts, specifically for print, but also for web. I believe I have a strong grasp of what is needed within briefs, and can bring a sense of professionalism to what a client may want.

I would highlight some of the previous tasks within this course, particularly those that had a focus on layouts and printed documents. Some in section 2(?) spring to mind.

To approach the business card, I will stick to my principles of using clean, simplistic design elements, but with a pop of striking colour to ensure that the car stands out on a table etc.

I drew some initial sketches to help me visualise what I had in mind. Then from these I was able to pick one or two to develop digitally and decide on a final outcome.

The above business cards are the chosen designs, converted to digital format. Of the two I think the patterned version works best from a visual point of view, though the information on the second is perhaps more clear. A combination of the both could work though…

As an accompaniment to any potential client pitch/approach, an interactive PDF document, with links to my portfolio site, and a direct email link to get in touch with me.

I followed the same visual cues as I used on my portfolio in the previous task, to keep a sense of continuity present. I toyed with the idea of doing a printed version, but in this day in age, and in the current climate, I felt a digital no-contact approach was the best direction.

Create a Portfolio

‘Look back at the work you’ve produced during the course and select the pieces that you feel best show off your talents as a designer. Put your work together into a portfolio, thinking carefully about the order in which you present the work.

As you develop as a designer your current work will tend to be the strongest work. Consider redoing or amending some of your earlier work to bring it up to your current standards. Sometimes it’s good to show a project in more detail, especially the ways in which you present ideas and rough drafts and develop these into finished outcomes.

Each piece can act as a prompt to talk about your work, so think about what you would say about each one. What information is important to demonstrate the context to the brief and the key points you want a client to know? How would you describe your creative process, your strengths and interests as a designer? You might want to rehearse this conversation by showing a friend your finished portfolio. Document your portfolio by presenting it digitally as a PDF or by photographing the pages.

At the start of Part Five you were asked to think about potential clients and begin the process of establishing a brief with a client. With this in mind, reflect on the process of selecting your portfolio, your final selection, and the things you have to say about your work. What are the positives in the work that you’re showing? Are there any areas that need further development? How could you re-order your portfolio to improve it? How have you described your creative process, both through your narrative and the examples shown? Document your thoughts in your learning log.’

In order to get a feel for the task at hand, I spent a while researching and looking at others’ examples of design portfolios (I’ll attach some of the images below).

My general take from looking at these, and others, is that there is no right or wrong way to present your work. It is all very much subjective. However I do think some are more successful than others. I think there is a balance to be struck between making the portfolio itself a work of art, or having a nice, clean layout which places the emphasis on the work inside. I would have to say I lean slightly towards the latter in this instance.

I decided that I would aim for this sort of approach for my own portfolio. I opted to avoid any garish colours that might clash with the work itself, and just stuck to white – perhaps a little safe, but its what I feel is the correct approach. Using a playful composition I hoped I could add some design intrigue to the pages without distracting from the work itself.

Overall i’m pretty pleased with the outcome of this. It was actually quite a nice experience to have a look back through the previous products and remind myself of some of the better work I have produced. I also feel very confident in perhaps presenting this to someone and having to talk through it explaining the concepts behind the ideas. All of which bodes well for the future.

Visit a Print Shop

‘Talking about printing and seeing it in action are two very different things. Smelling the inks and listening to the clank and hum of the machines and presses can make the design process feel much more tangible. Understanding how the printing process works – how your designs are actually made real – is really important to your understanding of your design practice. There are lots of different decisions you can make that will have an impact on your designs, from your choice of paper – its weight, how it’s cut, folded, embossed, scored, or bound – to how different inks can be mixed, combined or overlaid to create effects not immediately apparent on screen.

Use a local business directory or search online to find a local print shop. Phone them up and organise a visit. Tell them you’re a graphic design student interested in finding out more about the print process. Most printers are keen to develop new links with local graphic designers or simply willing to give a little of their time to support you. You might have to wait a while – printers are busy people – but your patience will be rewarded.

During your visit, try and gain a broad understanding of what they offer: the kinds of print finishes they can achieve, their paper stock, and the feel of the work they’ve produced previously.

Depending on your ability to travel, your location or other circumstances, visiting a print shop might be difficult. If you’re unable to visit a printer’s workshop, try and develop your understanding of how a printer works by undertaking your own secondary research online, in journals or books.’

Unfortunately, due to the ongoing COVID-19 pandemic, this task has been practically impossible. A lot of the printers near me are either closed completely, or running on a skeleton staff, and certainly not allowing visitors of any kind.

As a result, I haven’t been able to visit any printers recently. However I do have a good relationship with a semi-local printing company that I dealt with in my previous job (Bishops Printers based in Portsmouth). Due to this I have a decent knowledge of the processes involved, and the results that can be achieved. Once things have calmed down again (hopefully not too much longer now!!) I will endeavour to pay them another visit and ask about a few of their perhaps, lesser used services.

From my own experience using this particular printing company, I can say that although they are always super busy, it is key for them (and oneself) to retain a regular line of contact. This ensures that the process is as efficient as possible from start to finish. In my previous job we used to use them to get our Race Day programmes printed in large quantities. The most important things to consider for this particular job were:
– Page numbering always had to be a multiple of 4 (seems relatively obvious, but you would be surprised how awkward it was for some jobs).
– Crop and 3mm bleed! Touched on this in a previous task recently, but the 3mm bleed and crop marks are so important.
– Margins, and making sure all the important information is contained within them – there were rare occasions where some info has been cut off due to a dodgy trim etc.
– Make sure you select the correct paper stock for the job in hand (most good printing companies will have a good handle on this, and be able to suggest what they think is the best choice, and even suggest alternatives to what you may have selected, if they think it might produce better results.

Ref:

https://www.bishops.co.uk/

Print Variations

‘Many designers have creatively exploited the limitations of how printing works, and in so doing revealed something of the process itself. For example, both the American designer Bradbury Thompson (1911–95) and the Italian designer Giovanni Pintori (1912–99) explored the visual colour mixing of CMYK, overlaying the four colours to reveal their mixing potential. The contemporary French designer Fanette Mellier works in a similar way, using a limited palette of translucent colours and overlaying them to build up deeper and darker colours.

The overlaying of different spot or CMYK colours in silkscreen printing, one on top of another, builds the artwork a layer at a time and creates a rich sense of depth. This can be seen in the work of printmaking studio Aesthetic Apparatus (http://aestheticapparatus. com/) and many of the silkscreen designs featured in the Gig Posters archive (http:// gigposters.com/).

Find examples of work that you think make the most of a limited range of colours, explore the overlap of colours, or in some way reveal the printing process in their approach. In your learning log, reflect on what makes these examples work on an aesthetic level. What can you take from their approach for your own work?

Using your examples as inspiration, do your own experiments to see what overlaying translucent colours and exploiting the overlaps of CMYK and other colour overlays can create. You may want to use a simple photograph of an object, a portrait or something similar as a starting point. Document your experiments by saving your different files and combining them into an overall design, such as a poster.’

My starting point for this task was to have a look at some different ways in which some print studios use overlaid colours to produce artwork. Aesthetic Apparatus are a printmaking studio which specialise in this style of working. A bold use of colour and composition produces very effective designs for packaging, posters and even snowboard designs!

Their style of working is a little more ‘grunge’-like than my own style of work. But it did give me an idea for some work. I decided to try a series of simplistic print designs, using relatively limited colour palettes and overlaid colours to see what I could create: Firstly I created some examples, just using the cyan, magenta and yellow colours to see what effects I could create. Without a doubt, the ‘multiply’ effect works best when using these colours, to get a really diverse overlaid appearance.

I then decided to use these same compositions but now using different, more subtle/softer colours:

The abstract nature of the prints really meant that I could be quite playful with the composition and colours I chose. I experimented with a few different effects and ways of overlaying (as seen above), but I think the most effective I found, was the ‘soft light’ effect. I found that, especially with a slightly softer palette, they gave the best results (or at least the results I was looking for). I didn’t want the overlaid sections to become the focal points of the pieces, rather I wanted them to be relatively subtle in comparison.

Rather than combining the different elements into one overall design, I think that these actually work best as standalone pieces or as a ‘collage’ style poster. I even mocked them up into a ‘scene’ to see how they might look as prints on a wall:

Your Pre-Flight Check

‘Create a leaflet for a local company and get it ready for print. If possible, pick a type of company that allows you to use the resources you have to hand. For example, if you can easily take photos of your garden you might want to create a leaflet for a garden centre. On the other hand, you might choose a tool company or food takeaway.

Create your leaflet to these specifications:

  • A4 landscape, folded in half to create A5
  • printed double-sided
  • full colour on the front
  • two spot colours on the inside
  • 3 mm bleed.
    Do a pre-flight check of your document:
  • Spell-check and proofread (use the proof marks to note any mistakes) the document.
  • Ensure your bleeds and printer’s marks are in place.
  • Convert images to CMYK and ensure they are at least 300dpi.
  • Specify your spot colours using the Pantone system.
  • Gather together the relevant image files and fonts into a digital folder.Export your document as a print-ready PDF or gather together the necessary files to send to your printer. Make a note of any information you think you need to tell the printer, for example, which Pantone colours, fonts or other instructions you need to communicate.Having gone through this rather technical process, what points do you think you need to be more aware of next time you prepare a design for print?

Export your document as a print-ready PDF or gather together the necessary files to send to your printer. Make a note of any information you think you need to tell the printer, for example which Pantone colours, fonts or other instructions you need to communicate.

Having gone through this rather technical process, what points do you think you need to be more aware of next time you prepare a design for print?

To start with on this task, my first step was to setup the document in InDesign. A5 sized with folding pages (4 pages), to create the ‘A4 landscape, folded in half to create A5’ that has been requested. In CMYK format for print, of course, and 3mm bleed.

Next I decided on a small leaflet for a local housing developer I’ve done some work for. It’s a small leaflet giving a small overview on one of their projects. It gives a brief description of the company, an insight into the location of the site, and a run down of the technical spec you can expect to find.

Once all of the info and imagery had been inputted, it was onto spellchecking and proofreading. Handily, InDesign has a spellcheck feature, which I ran through and to my surprise, it threw up hardly any mistakes!

Moving on from the spell-checking, I then doubled checked my Pantone spot colours in the document.

And then lastly, I used InDesign’s ‘Collect for Output’ function, which collates all the fonts and images, as well as the final print PDF into one digital folder, which can then be sent to the printer – ensuring that they have everything they need in order to successfully print your leaflet.

I think the main thing I would take from this exercise, is that I should probably pay more attention to my Pantone/spot colour swatches as these are often something I neglect, and could result in incorrect colours when printing.

Your Digital Fonts

‘Create a DTP file that uses at least three different fonts, for example Helvetica Bold, Times New Roman Italic and Times New Roman Bold Italic. Identify where these fonts are housed on your computer and learn how to copy them to a new folder that contains your original DTP file. You may find that you have software available that helps manage your fonts. If you struggle with any aspect of this exercise, identify online tutorials that may be able to support you.’

Using a Macbook, this task was very very simple. To collate me chosen fonts into one folder, I opened FontBook, and searched for my relevant fonts individually, and copied them to my chosen DTP file folder. Attached below are some simple screenshots of the process.

Working for a Client

‘The owner of a local bookshop wants to create some sort of campaign that gets people talking about books and generally ‘starting a conversation’ about the enjoyment of reading. The client also wants to celebrate and publicise the differences and benefits of a real bookshop over larger virtual ones. They think your typographic skills are perfect for the job, especially in terms of the leaflet they envisage as a solution to the campaign.

In preparation for your first meeting with the client, what information do you need before you can creatively respond to the brief – and what questions do you need to ask to get it?

Document any initial creative ideas you have to answer the brief, or any potential expansion of what is being asked of you. What are you going to propose to the client in terms of how you’re going to approach the brief?

How might you develop a schedule to undertake this project? How many times do you think you’ll need to meet with the client and where do these points of contact fit with your creative process?’

Before meeting the client, or any client really, it is important to gain as much knowledge and information about what it is they are really looking for – this will give me a headstart on the project. One of the first things to do, is have a look at some of their existing work. The website and current branding are always good places to start as they give a first impression and good idea of where they stand, visually. It is also good practise to double check that al the relative contact details are correct and up to date, this will save any annoying miscommunications along the way.

Obviously here, the client is after a leaflet. In this instance it would also be advantageous to see if you can look at any of their existing printed ephemera, and make notes on how you could improve it. This type of information will impress a client, and confirm to them that you are the best choice. You could also spend a little bit of time exploring what scope there is to expand or develop on what it is they want done. This may lead to some further work, or at the very least, show that you have considered other possibilities.

Visually I think it would help the campaign, to have a very striking style. Something that is visually bold and exciting. Whether that be posters, tote bags, digital adverts, or even clothing merchandise (could be seen as a bit ‘tacky’, but I think it would actually be pretty effective at getting a message out there and subliminally across to people.

In terms of the frequency of meeting the client, I would estimate a check-in email every 2-3 days, and if possible a video call/physical meeting around once a week, depending on the size of the job in hand.

Finding a Client

‘As preparation for Assignment Five, first reflect on the area of graphic design you’re currently interested in. With this in mind, write a list of potential clients from the social networks, friends and family you’re in contact with. Do you know anyone who runs a small business or enterprise, is a member of a group or club, or is involved in education or community projects that need design work? You may want to extend your search to local organisations, businesses or community groups. Can any of these provide you with opportunities to develop the kind of work you’re interested in?

Make some preliminary contact with the potential clients you’ve identified to see if they might be interested in working with you on a project. At this stage, think in terms of getting a sense of whether they’re interested and the kinds of projects that might be on offer.

Alternatively, you may find that a project comes your way naturally or you may have a long- standing project that fits into Assignment Five.

Let your tutor know how you’ve got on with this exercise. If you’re having problems they should be able to help.’

So, after reading the exercise, I immediately knew of a couple of local business that I could reach out to. A local Italian restaurant that is crying out for a rebrand (La Villetta), and a start-up housing developer that I know of through a friend (Woodberry Homes).

Both have shown initial interest in working with me to develop some new material. La Villetta are very interested in getting some new menus designed, while Woodberry Homes are looking for a complete rebrand and website design. Great news overall!

Open and Closed Briefs

‘A local youth centre has asked you to create a poster to promote their new club for teenagers in the area. On the surface, this is quite a specific brief and the client seems to know what they want. Use divergent and convergent approaches to develop a response to the brief.

For example, is a poster the best way to attract local young people? Use divergent thinking to develop a broader set of proposals that takes into account any underlying problems or potential opportunities you can identify. Then use convergent thinking to focus on the solution that best meets your client’s needs.

Reflect on your results, and the role divergent and convergent thinking played in broadening and focusing your attention’.

I think, my first thoughts are that a poster would be relatively effective in attracting attention. However when you consider that the target audience are teenagers, then this changes things slightly. Teenagers spend a large proportion of their time on mobile smart phones and computers, meaning a digital methods of advertising would most likely be more effective.

Things such as targeted social media adverts would be a very smart idea. This would mean that not only would the advert be digital and likely to been seen by the teenage target market – but also with it being targeted, will be aimed at people in a certain location, thus focusing the advert to exactly the right people. It would be easy to do, and largely inexpensive, word of mouth travels quickly too, especially with the ability to ‘share’ posts to others within your social sphere.

Other ways to advertise/publicise the new club, would be to enlist the help of the local schools. You could approach the school with flyers, with the idea that they would then circulate and distribute them to all of the children within the relevant age brackets. Again, a very simple but effective way to target a specific audience. One potential issue with this however, is the teenage years are a particularly rebellious time, and something that comes through the school, may not be seen to be the ‘place to be’ as such.

A launch event could also be a good way to gain some interest and traction. Advertised in the same ways as above, however getting people to actually attend an event at the club would mean they get to experience it first hand. If given a good impression they are more likely to, not only return, but to tell friends and others about it.

Design a site like this with WordPress.com
Get started