“London’s Design Museum is developing an exhibition on the legacy of information systems in our everyday lives. The show is called ‘Open this Way’ and charts the development of how information has been used to guide, inform, manipulate and organise our everyday social and private worlds. They want you to design an exhibition map, a signage system, and a proposal for a mini-website.
The exhibition is broken down into a number of different sections:
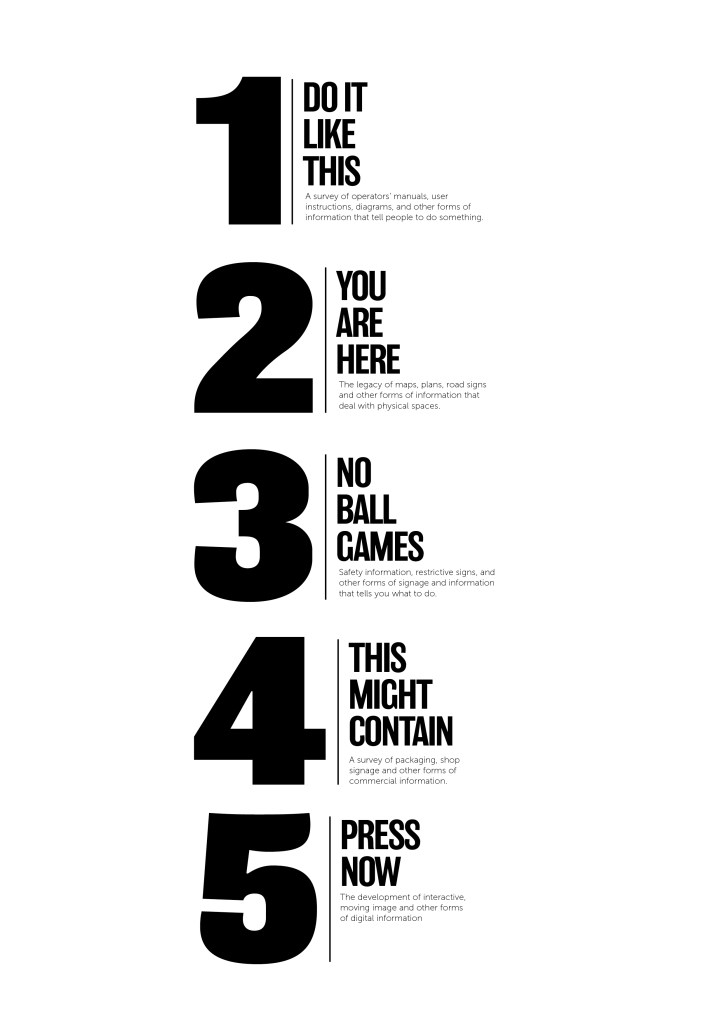
- Do it like this: a survey of operators’ manuals, user instructions, diagrams, and other forms of information that tell people how to do something.
- You are here: the legacy of maps, plans, road signs and other forms of information that deal with physical spaces.
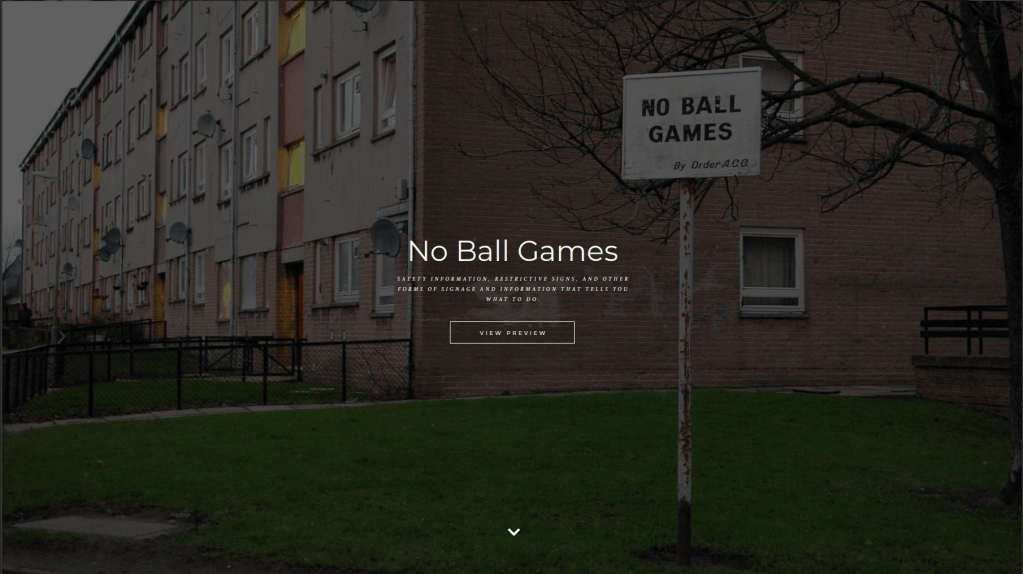
- No ball games: safety information, restrictive signs, and other forms of signage and information that tells you what to do.
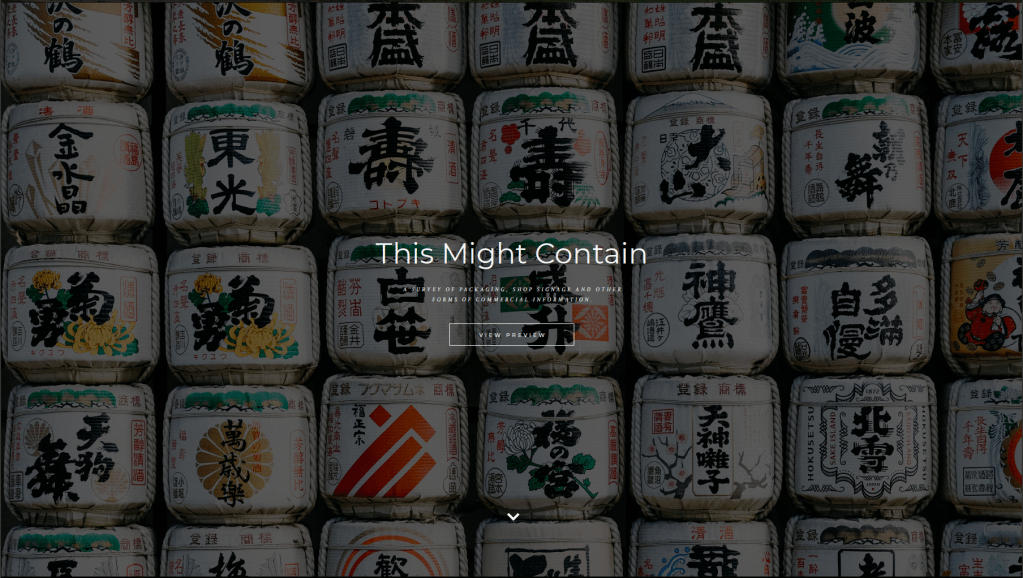
- This might contain: a survey of packaging, shop sign and other forms of commercial information.
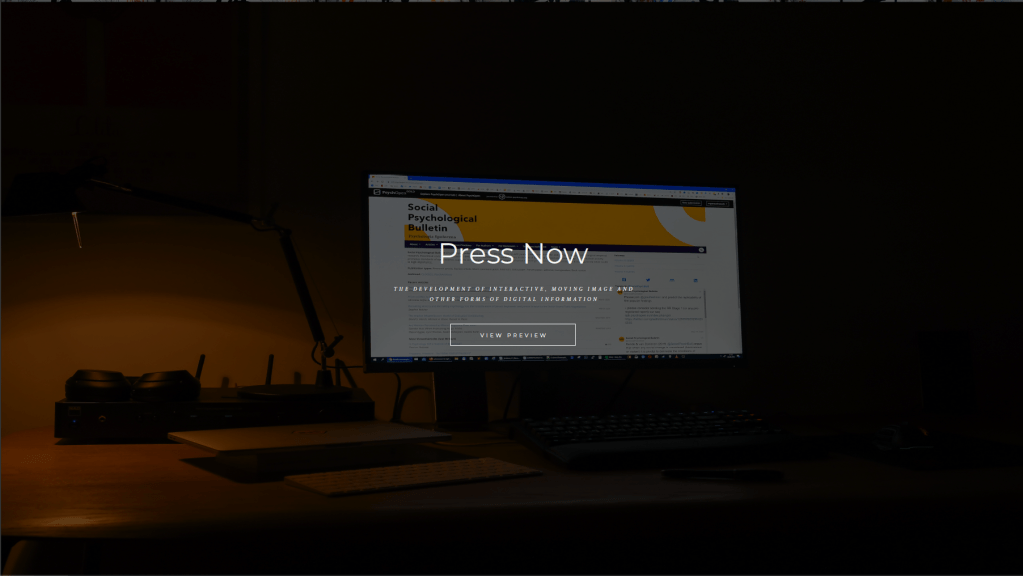
- Press now: the development of interactive, moving image and other forms of digital information.
Develop a map and signage system that informs visitors what to expect from the whole exhibition, where things are and how to navigate around the space. Your map should fit onto one side of an A4 leaflet. Your signage system will be spread around the different rooms of the exhibition, so think about where your signs might go, how much information needs to go on them, and an overall design that can accommodate different amounts of information.
You might want to locate this exhibition in a real gallery, museum or other space. Alternatively, devise your own series of rooms.
In addition, develop some ideas about how this exhibition can be organised into a mini-website that will be linked to their existing site http://designmuseum.org/. They will commission a web programmer to make the site so they simply want an idea of how it could be structured and how it might look.”
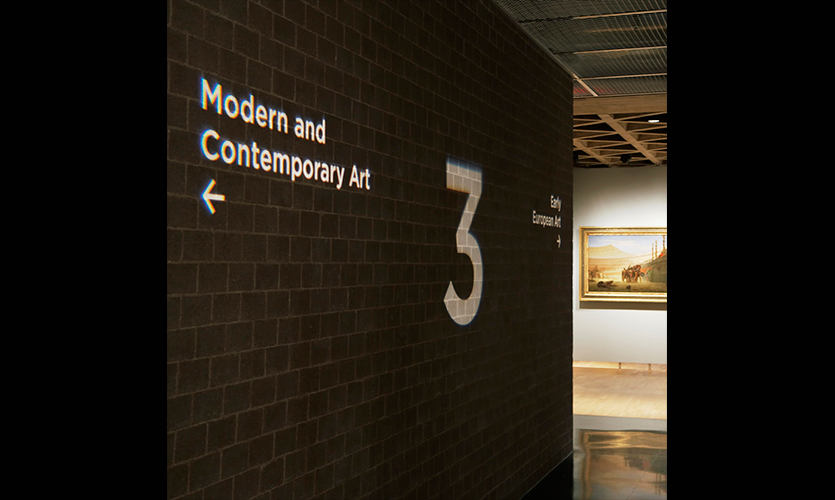
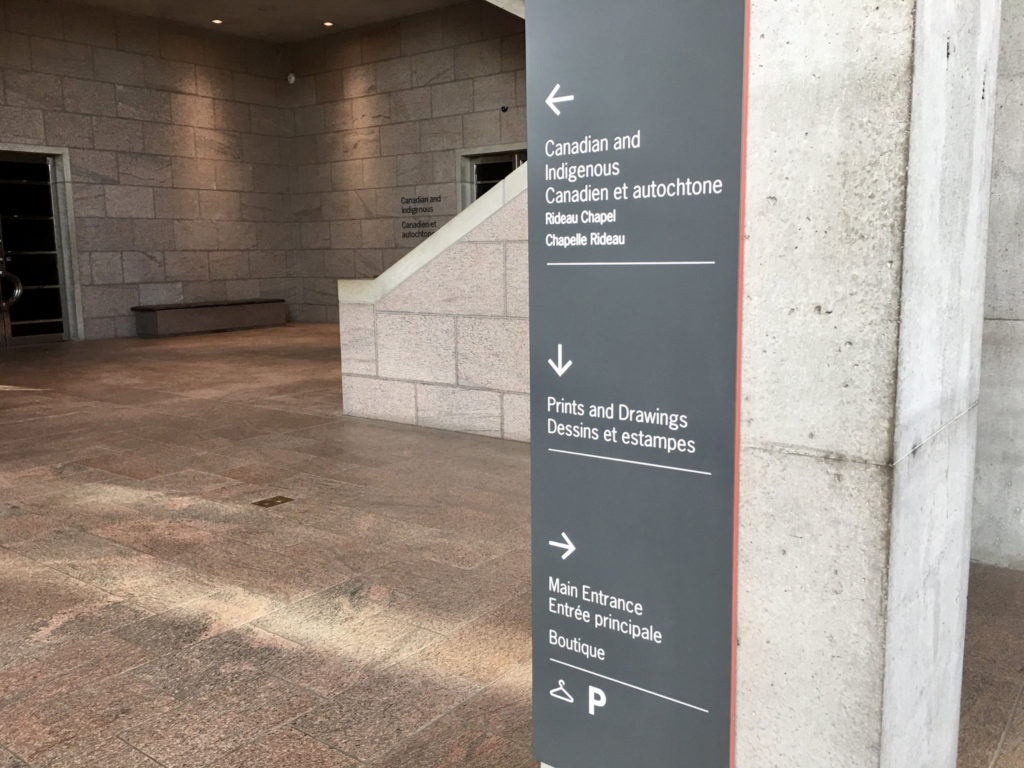
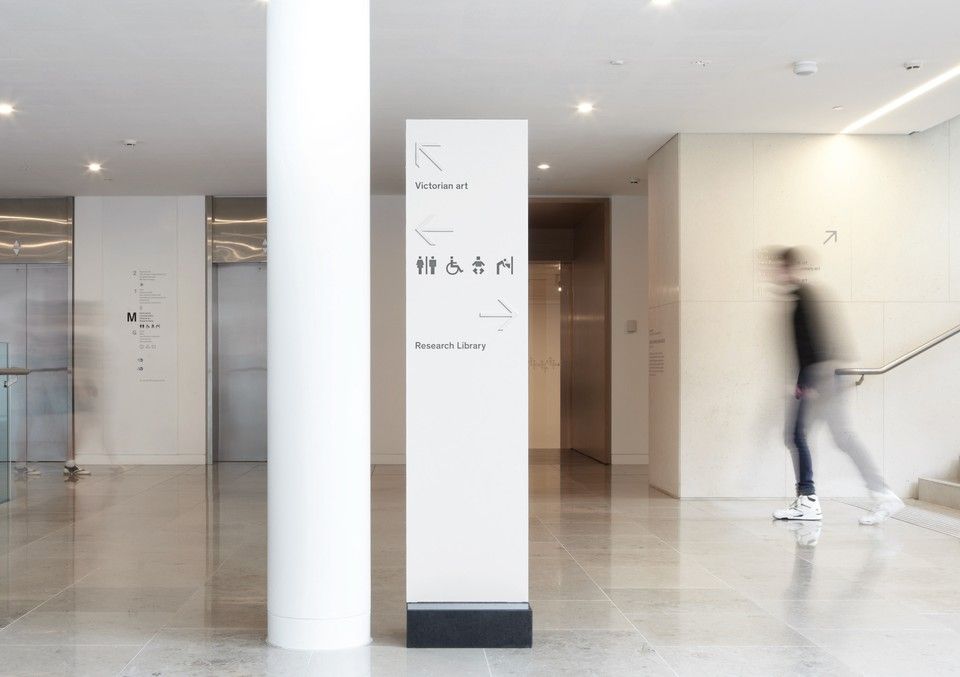
So the starting point for this assignment was to look at some real world examples of exhibition maps, and how they deal with the space and information.
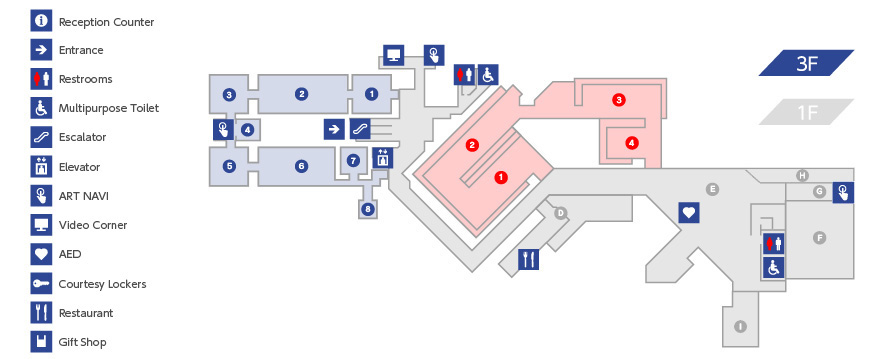
After a bit of digging I came across this 3D example which I thought could be interesting, though this particular one seems a little basic and difficult to understand in terms of which image corresponds to which room.
I then began to think about a simpler design, which would be a lot clearer to read on the A4 leaflet. This version above is effective and functional, but just a little plain. So in my mind, something similar could work…
… which is when I found this example, and decided that something along these lines would be perfect! It was the best blend of clarity and looking nice that I had seen to this point. So now it was over to the sketchbook to sketch out a layout for my own exhibition.
Having already had some experience in exhibition design in the past, this was a very enjoyable task and one I felt well prepared to complete.
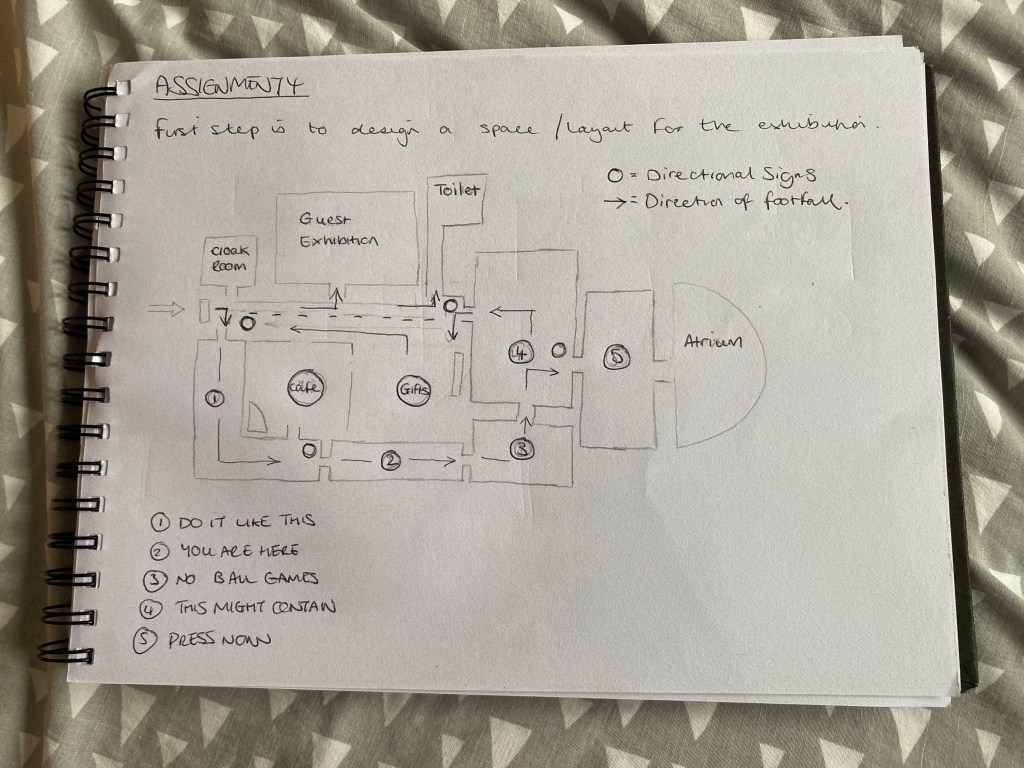
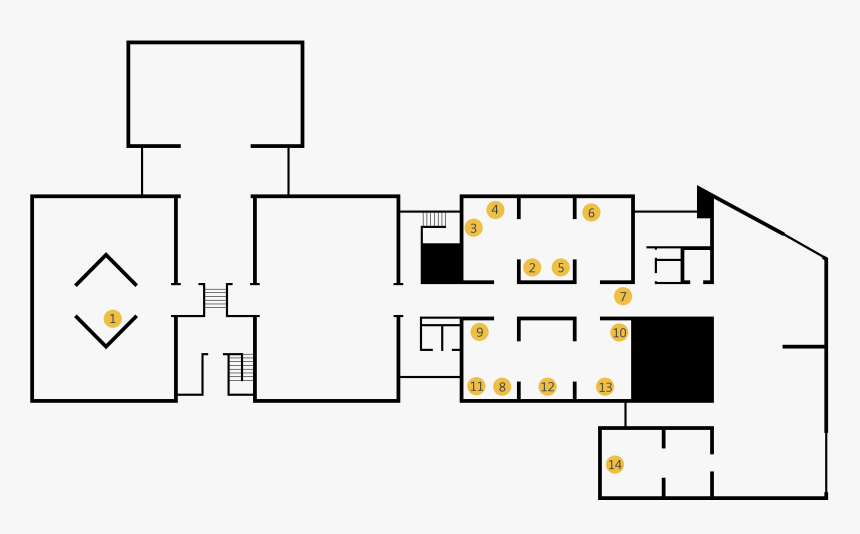
Very happy with this layout, I think it would work just right if put into practise. I also had to think about where to place the directional signage within the space. They’re labelled as the small circles in the above diagram – there’s four of them in the places that I thought made most sense (i.e. where there is more than one direction available).
Then I had to think of what sort of design I wanted for the directional signs, and also the room labels (which I thought I would stick to the walls by using laser-cut vinyl).

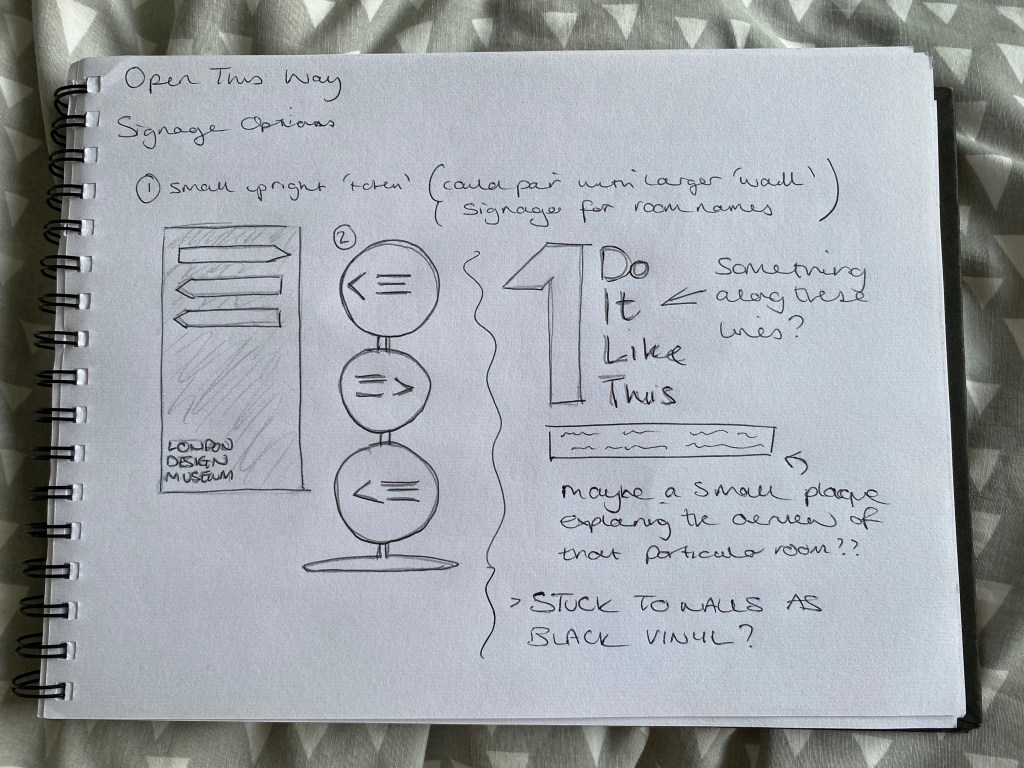
I couldn’t decide which of the two freestanding directional signs I preferred to begin with, so I thought I’d do both of them fully, and then decide which worked best from a functional point of view.
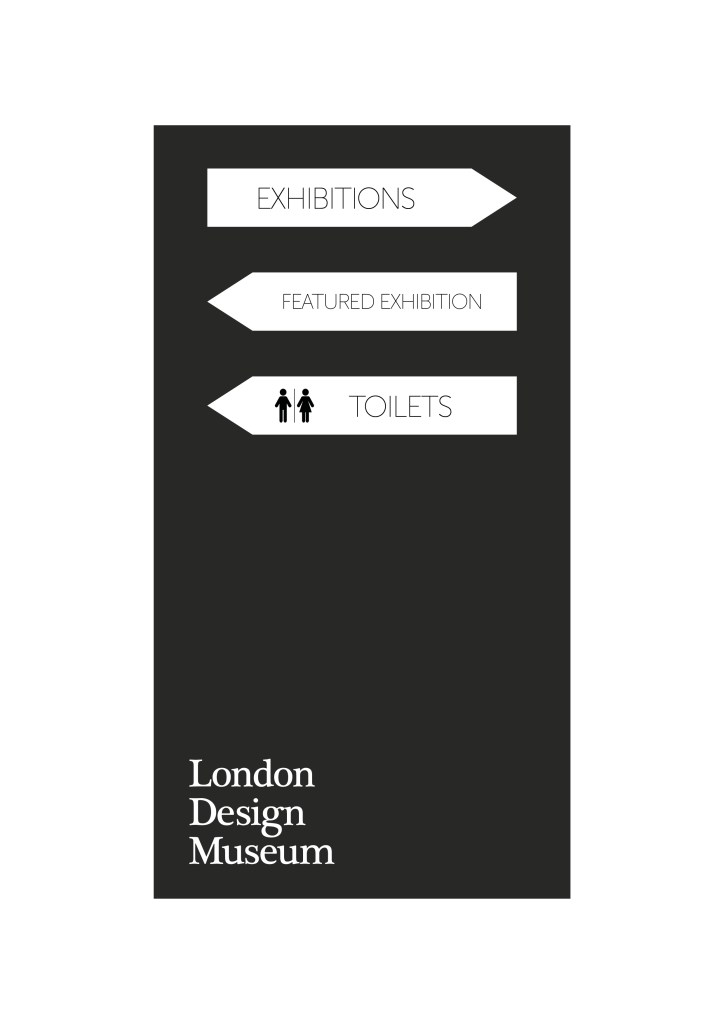
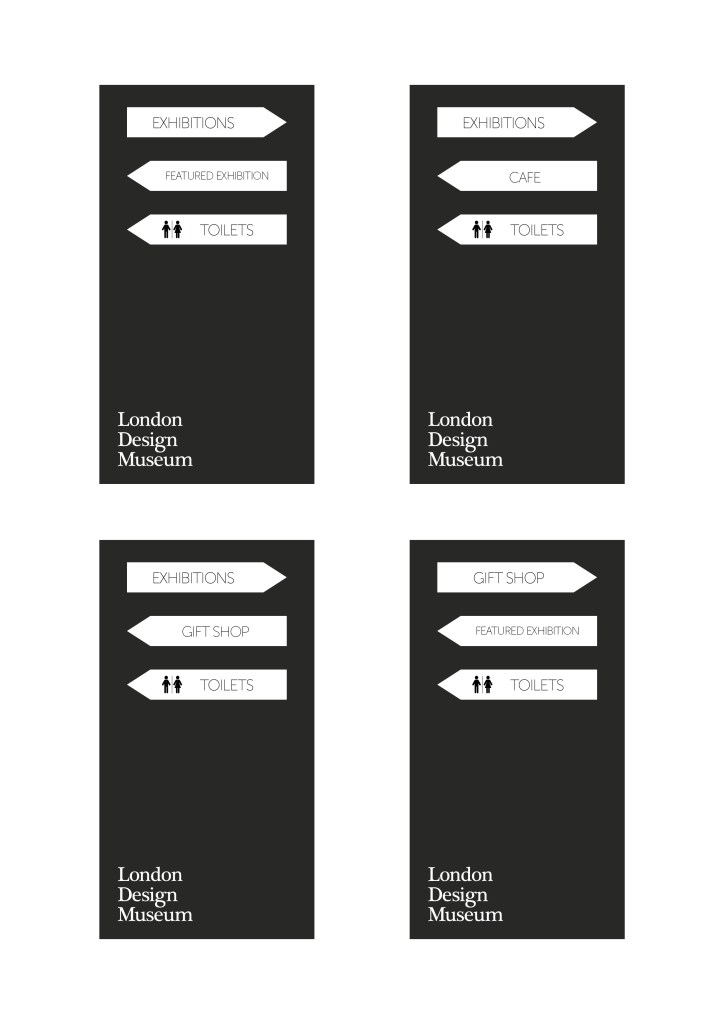
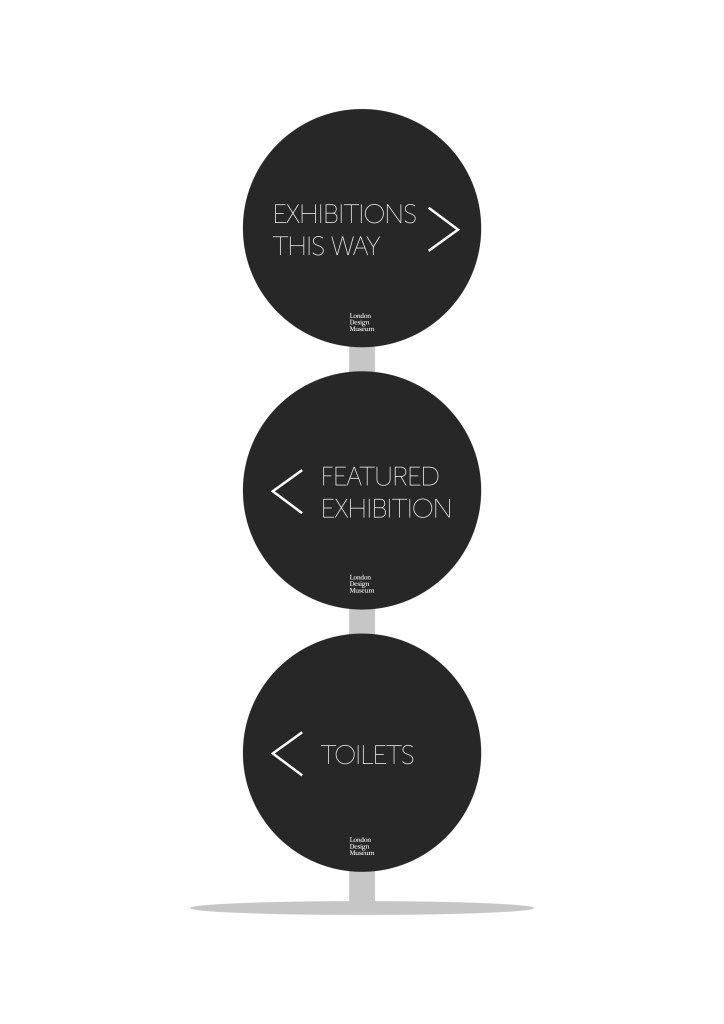
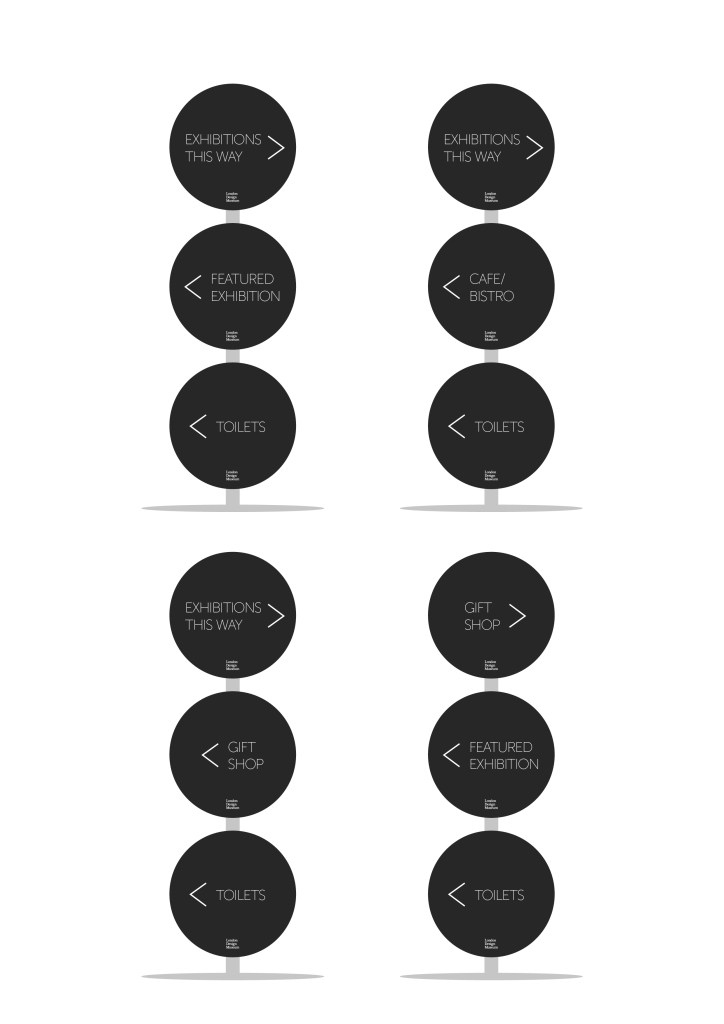
After some deliberation, I decided that the second design (the stacked circles) worked better for what I wanted. I was/am able to fit more information onto the signs, while they could also be removable and interchangeable, to suit the museum’s needs at any particular time.
For the vinyl room labels, I went with my initial design – using bold numbering and lettering to clearly label each room, but also to draw peoples’ attention towards them with the aim of getting visitors to read the brief summary of each room before entering, to get a real feel for what each section is really about.
After settling on these designs, I needed to create the map for the A4 leaflet. I stuck with the muted colour scheme, so as not to draw too much attention away from the exhibits themselves. I think it also presents an element of class and sophistication.
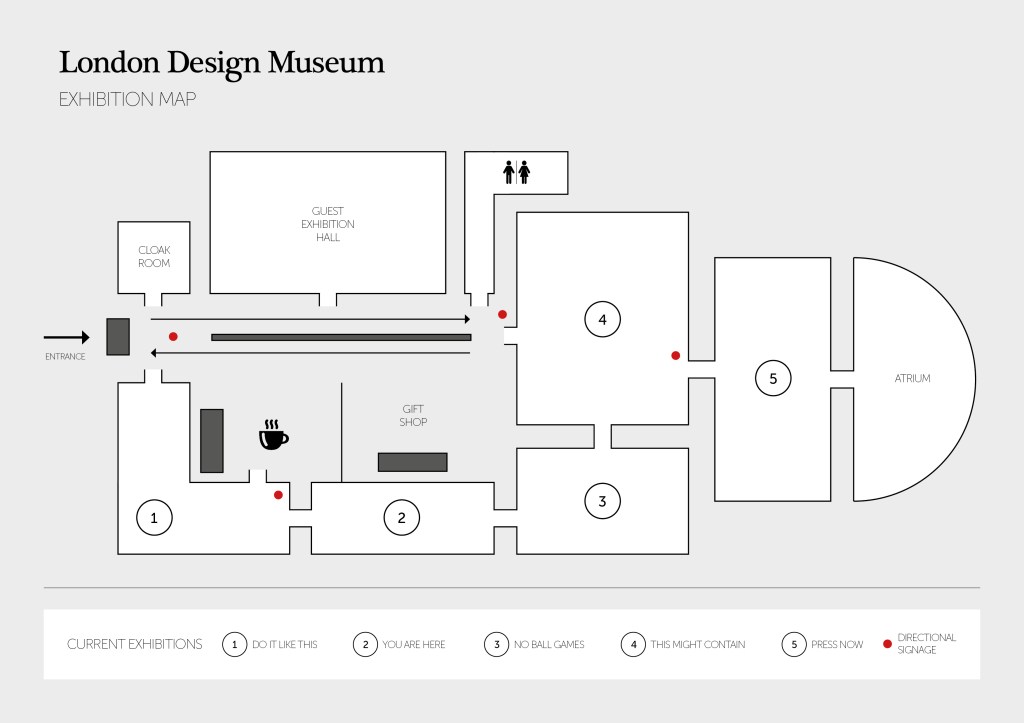
Using icons for certain things is usually a good way to clear thing up, especially if you have visitors who don’t speak English (in this case).
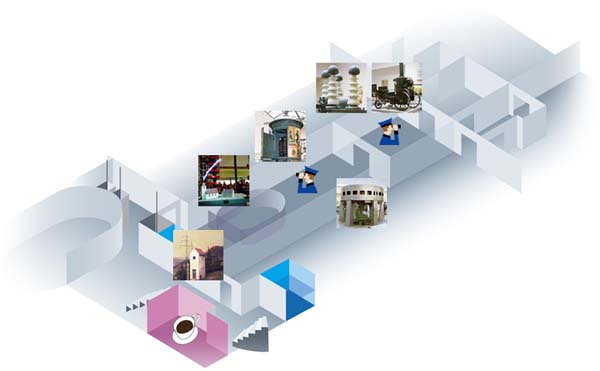
Finally, the museum asked for a website proposal. I decided to keep the design clean and classy to fit the rest of the aesthetic that I’d aimed for with the signage and map. I used images to give a flavour of what each section may contain, with click through links if the visitor wanted to find out more about a particular part of the exhibition.
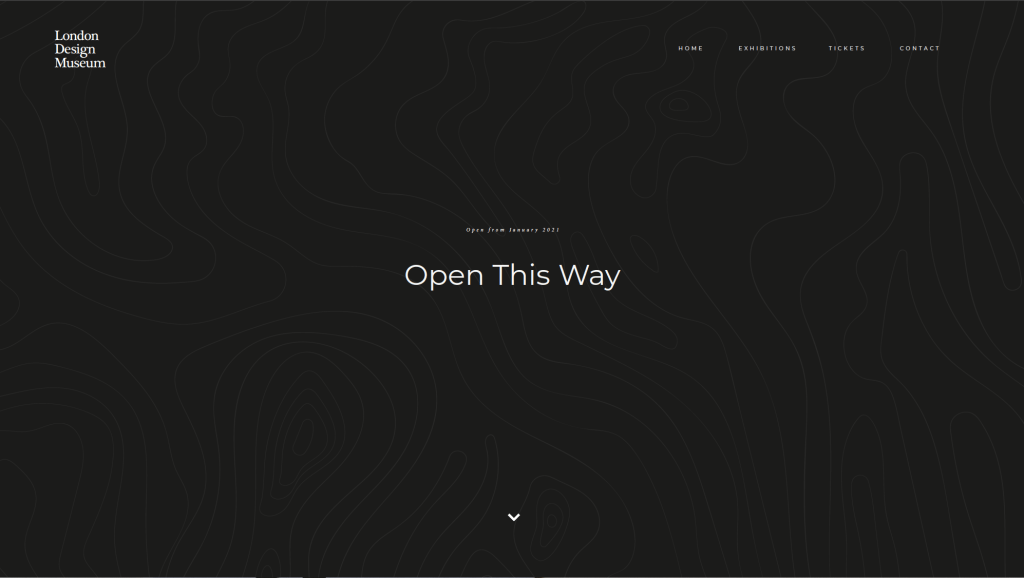
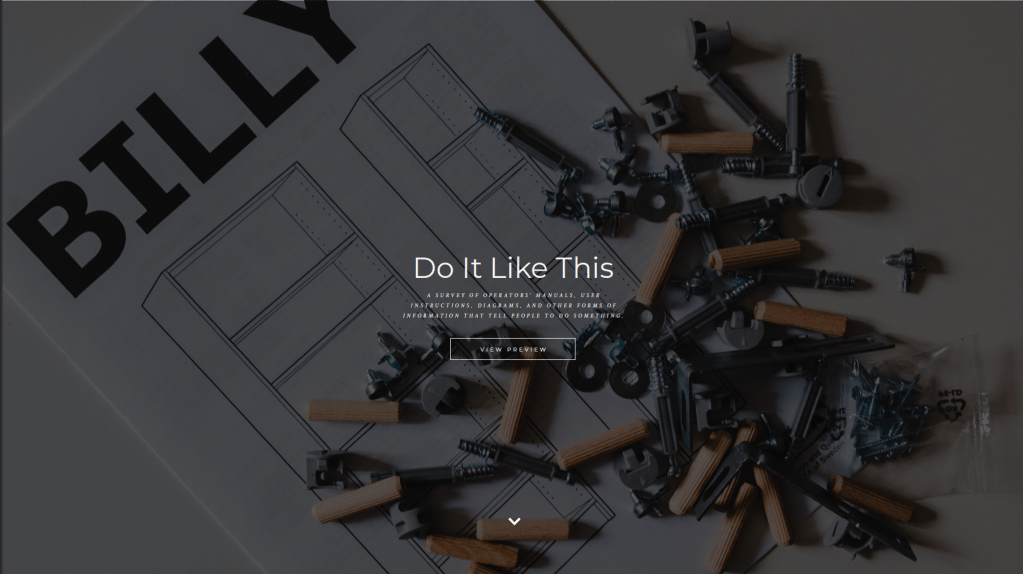

Annoyingly the single image (all the slides stitched together was too large, so these screen grabs will hopefully suffice).
Links
https://www.deutsches-museum.de/en/exhibitions/materials-energy/electric-power/exhibition-map/
https://www.fujibi.or.jp/en/visit/museum-map.html
https://www.pngitem.com/middle/hxxhwoJ_ask-at-the-front-desk-for-a-scavenger/
https://www.pinterest.co.uk/pin/77194581090135382/
http://www.smartgiant.co.uk/getting-there
